
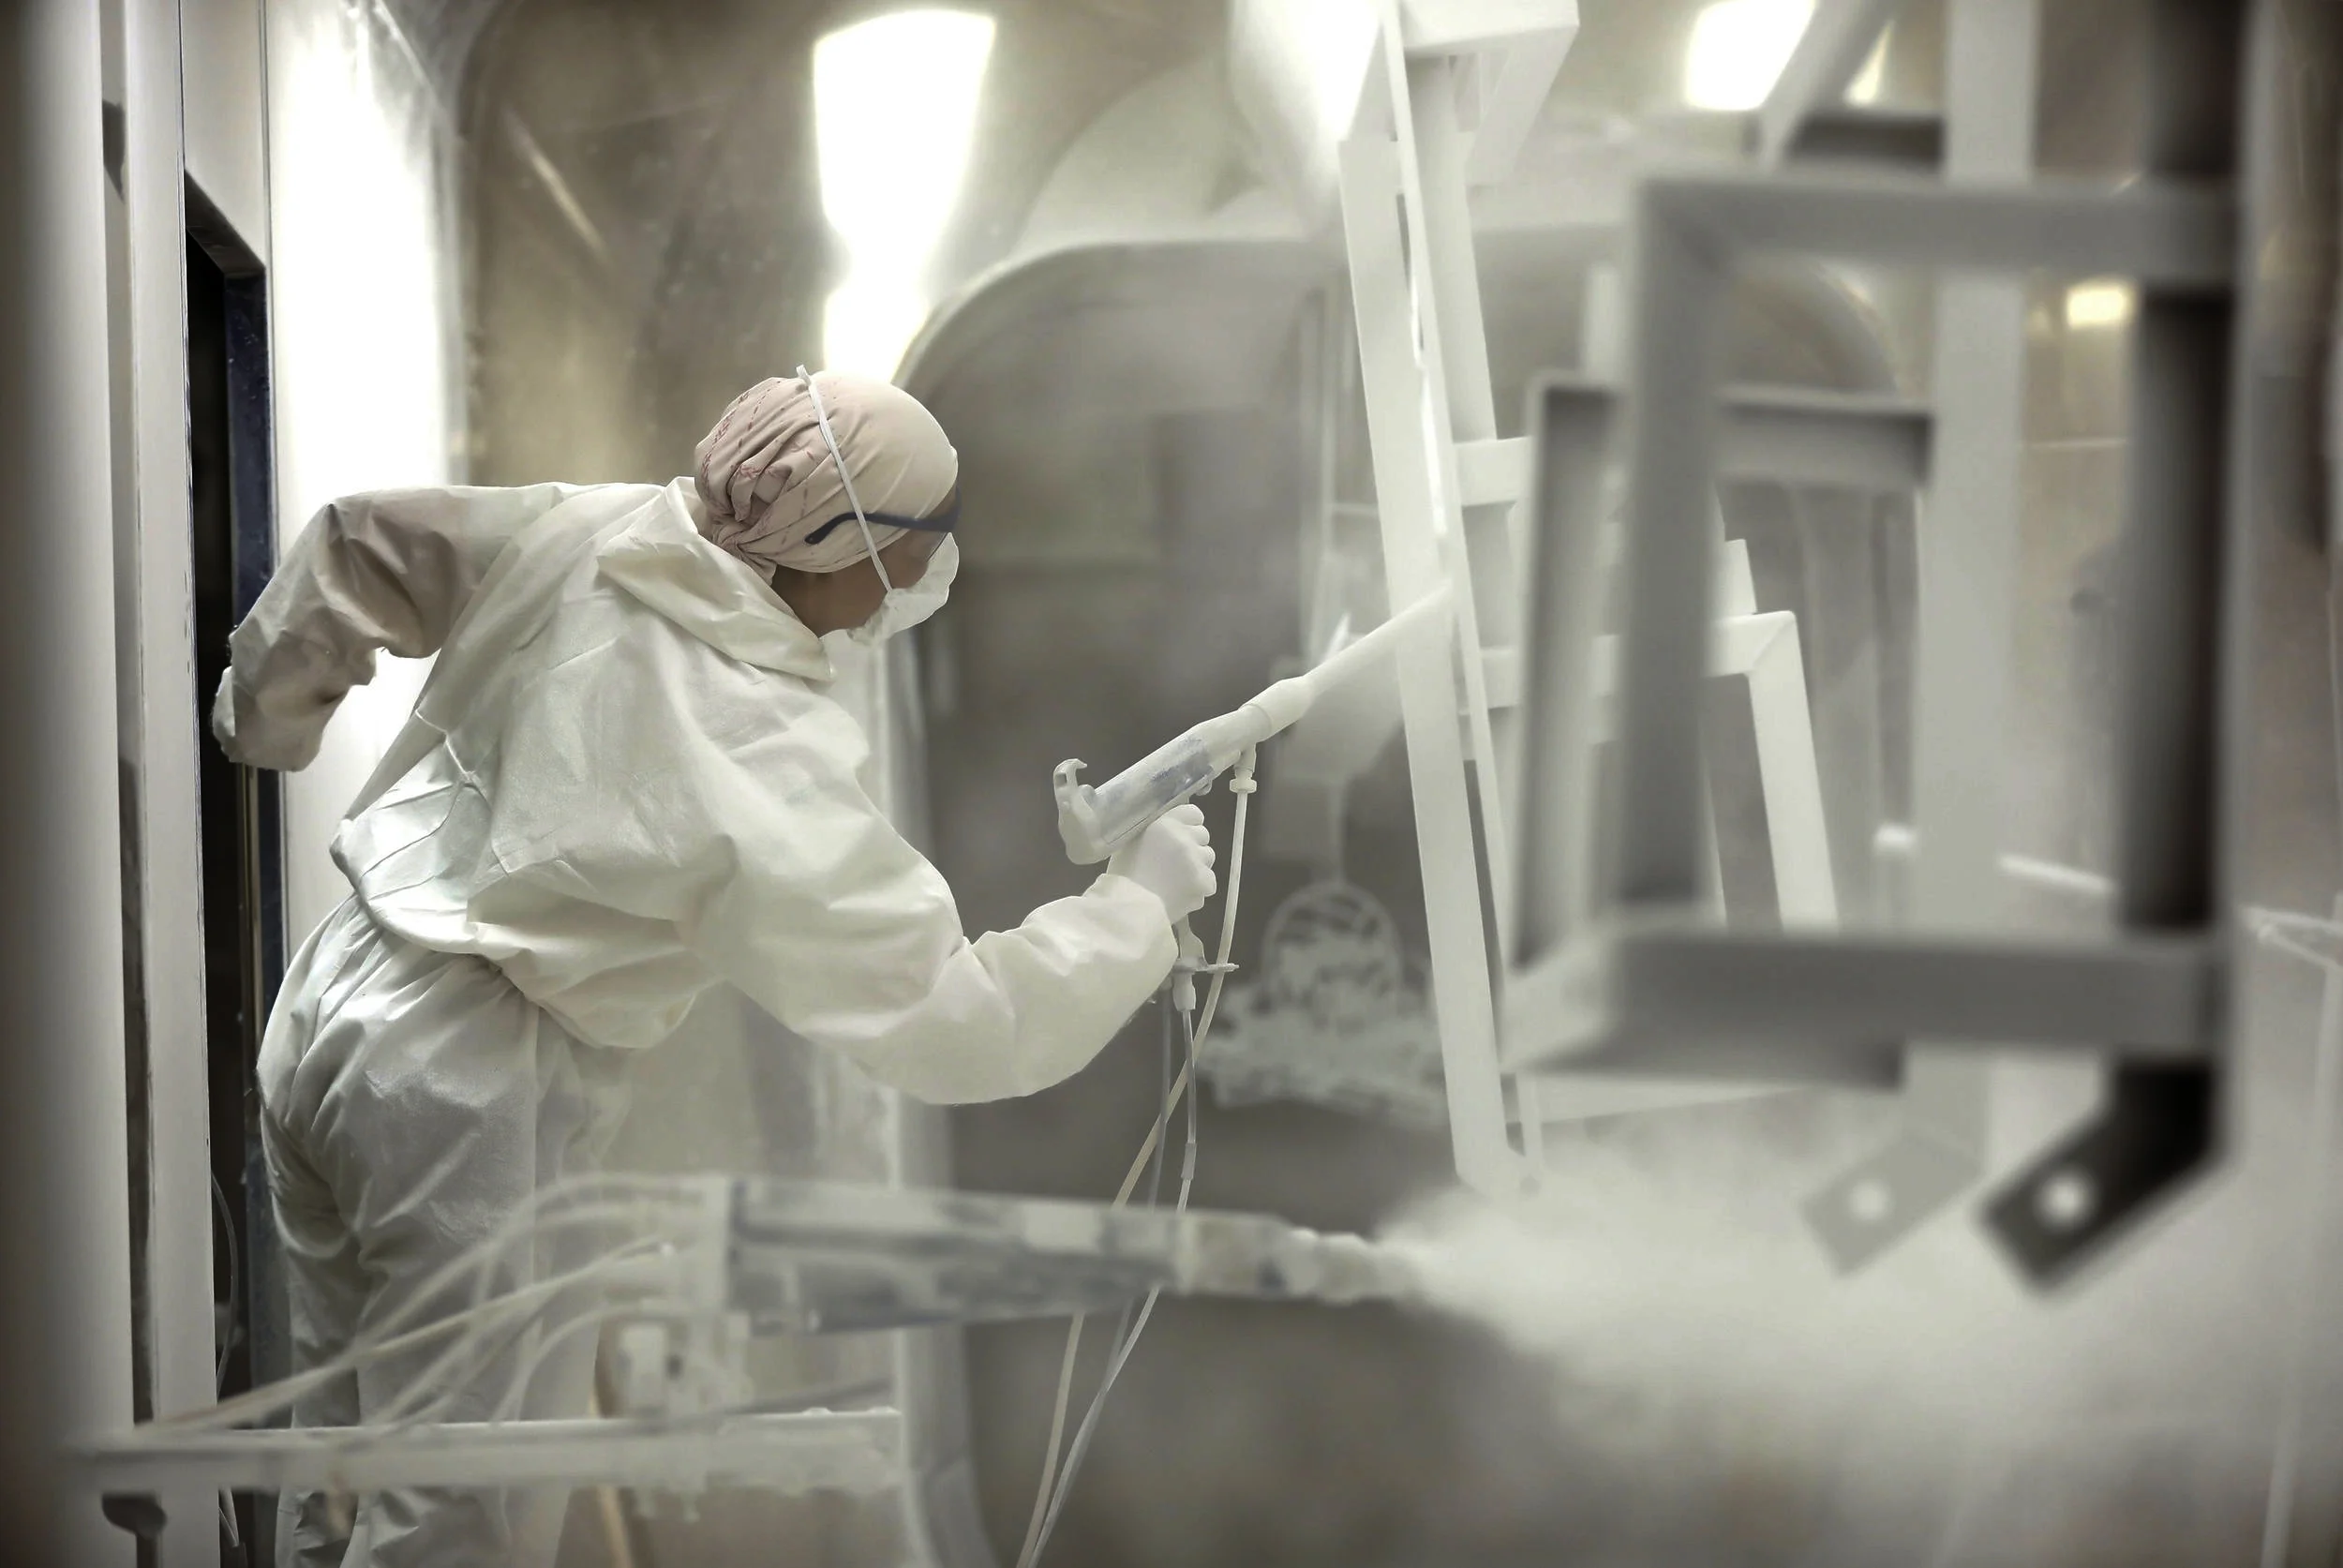
Choosing the right powder coating: How to determine the best value
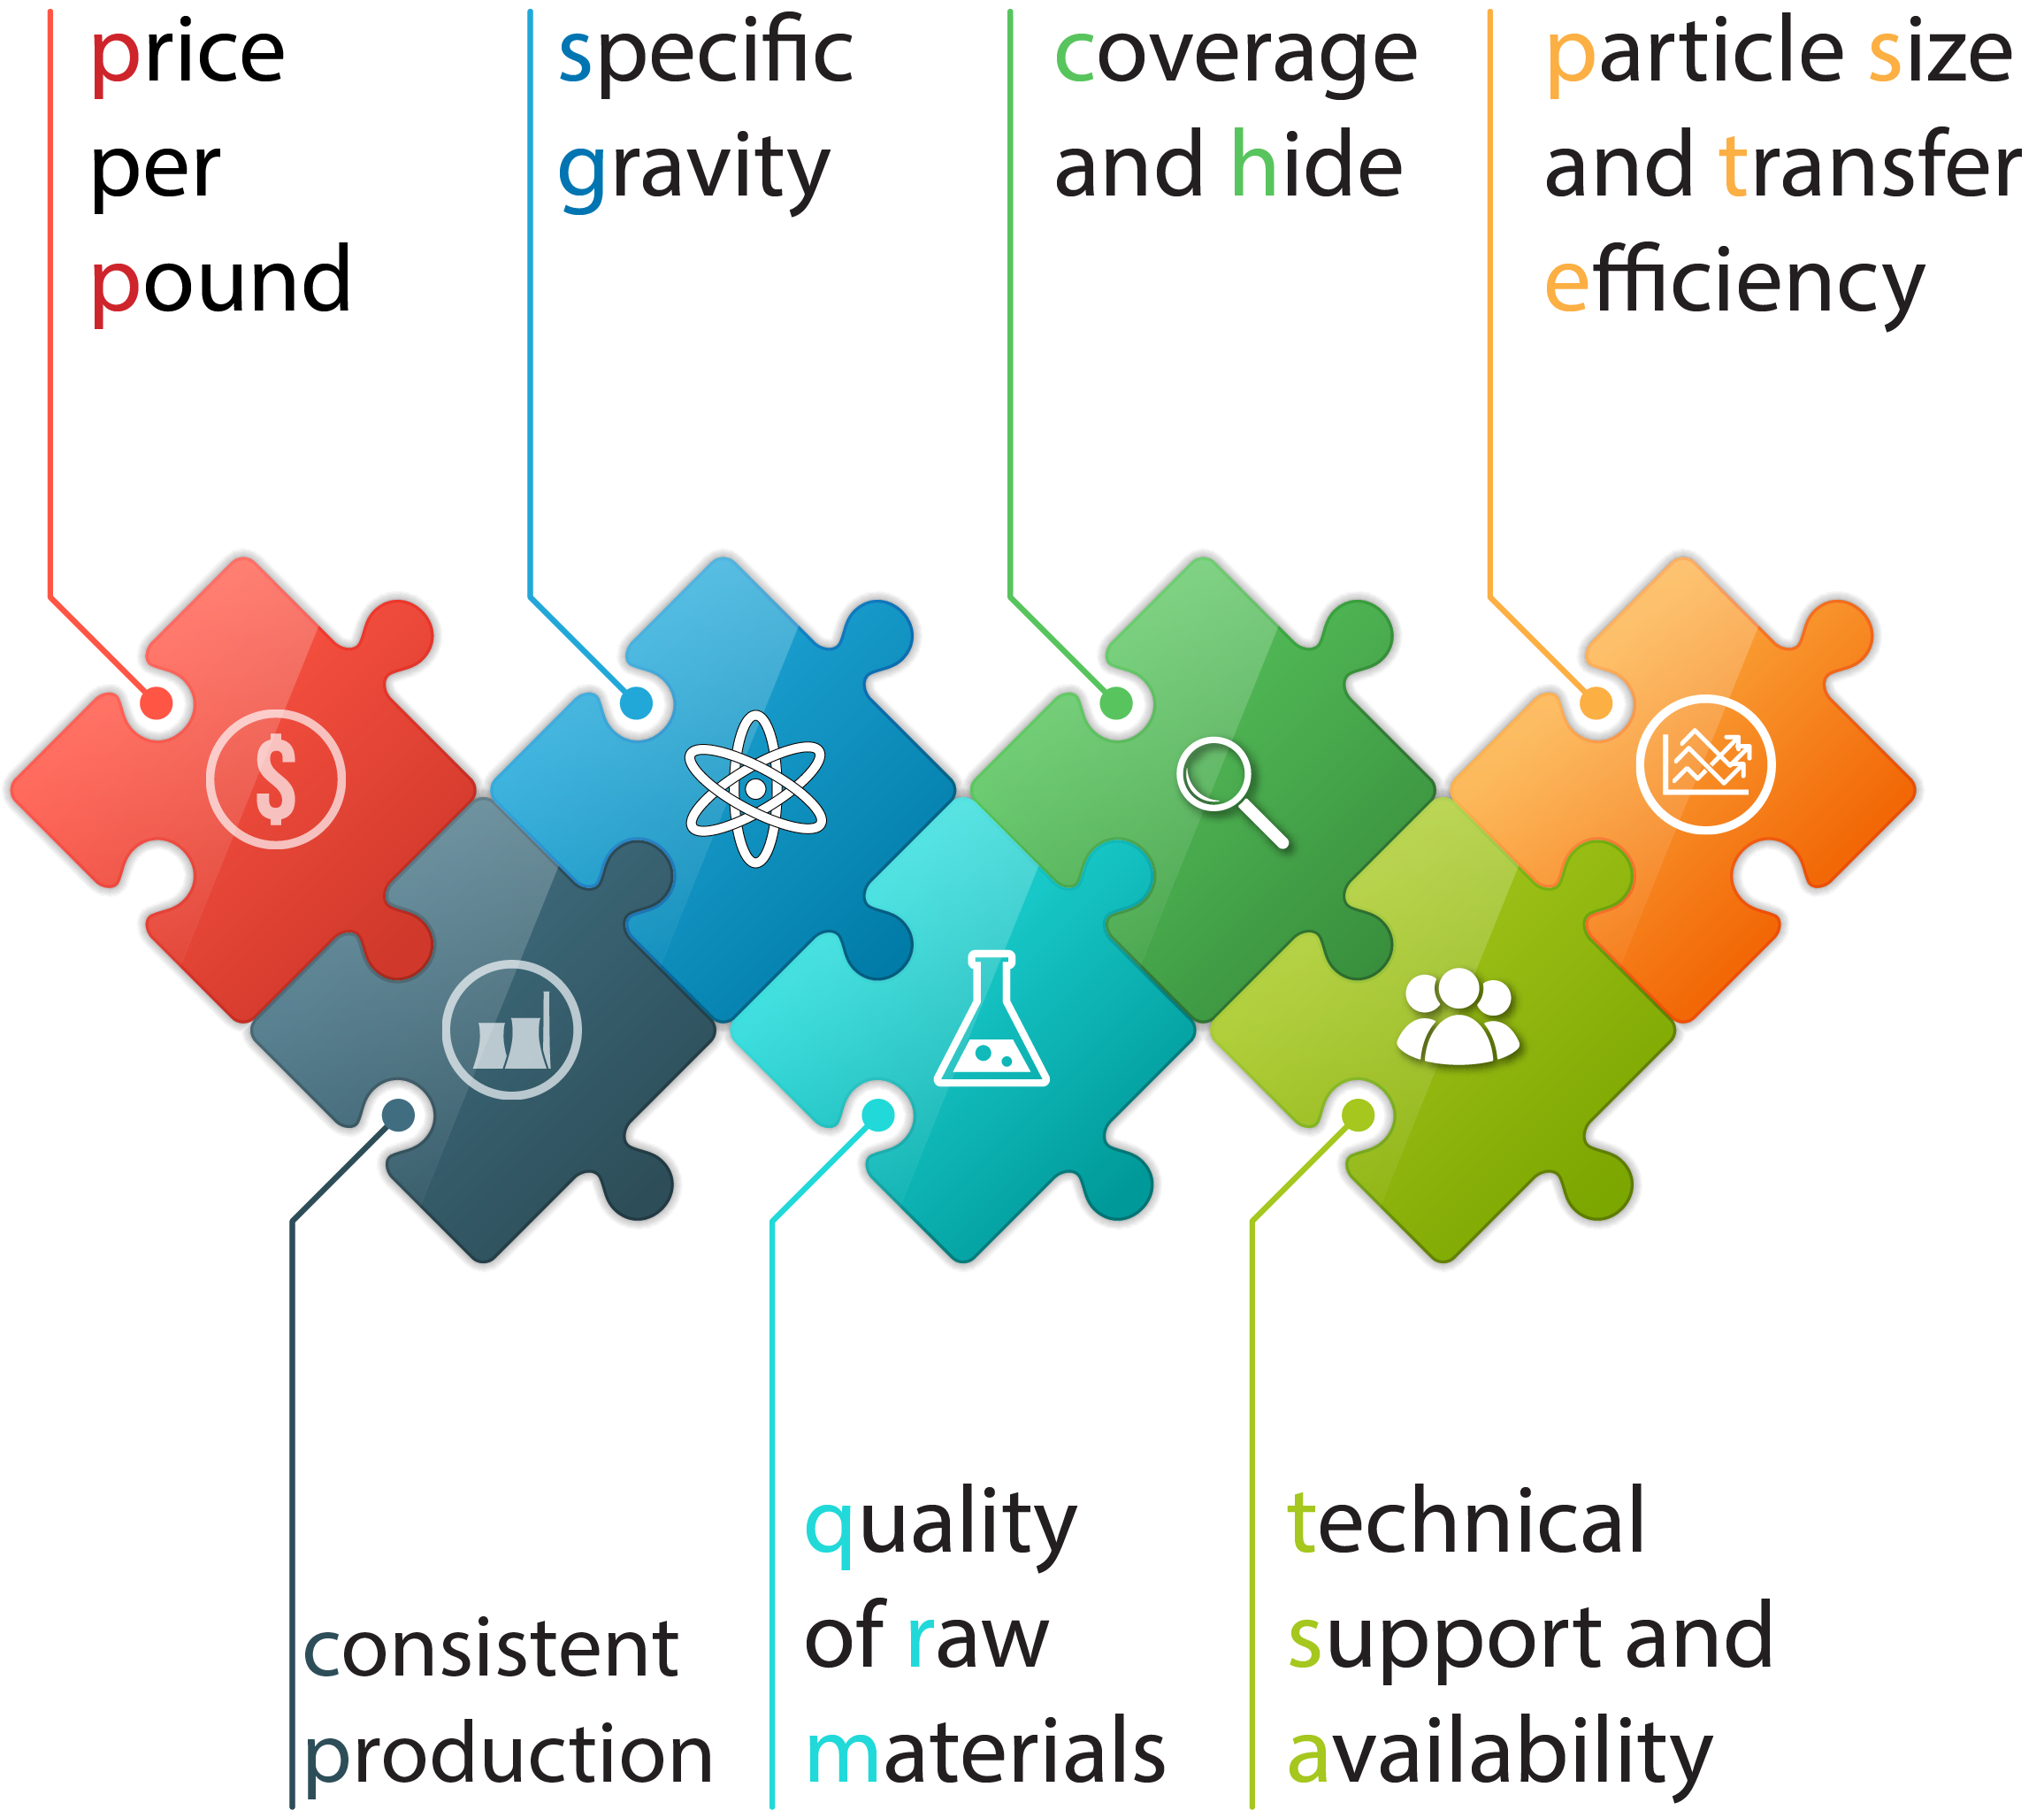
Although price per pound is the easiest place to start, it's only one piece of the puzzle. There are many factors to consider when choosing your powder coatings, including:
Let's walk through some of the factors to consider when determining the true "value" of a powder coating. How can you determine the true applied cost? A good place to start is with the coating's Specific Gravity (SG) - a number that should be supplied on your product's TDS. Specific Gravity is a measurement of molecular weight, and is typically measured in one of two ways. In the displacement method, Specific Gravity can defined as the ratio of the weight of a substance, to the weight of an equal volume of a substance chosen as a standard - in this case water. Another way to measure Specific Gravity is with a piece of testing apparatus called a Helium Pycnometer. PTI has found this to be the most precise method of determining a coating's Specific Gravity.
As it relates to the Actual Coverage Rate (ACR) for powder coatings, all else being equal, lower specific gravity is better. The table below illustrates how many square feet can be covered with one pound of powder with varying Specific Gravity at different film thickness, assuming one pound pound of powder covers 192.3 square feet, at 1 Mil, with a Specific Gravity of 1.0 and 100% material utilization. Using these assumptions, the formula for ACR = 192.3 x Material Utilization / Film Thickness x SG = Square Feet Per Pound of Powder. Don't worry about memorizing the formula -- we've also included a comparative calculator on this page.
| Specific Gravity | 1 Mil | 2 Mils | 3 Mils | 4 Mils | 5 Mils | 6 Mils | 7 Mils | 8 Mils | 9 Mils | 10 Mils |
|---|---|---|---|---|---|---|---|---|---|---|
| 1.0 | 192.30 | 96.15 | 64.10 | 48.08 | 38.46 | 32.05 | 27.47 | 24.04 | 21.37 | 19.23 |
| 1.1 | 174.82 | 87.41 | 58.27 | 43.70 | 34.96 | 29.14 | 24.97 | 21.85 | 19.42 | 17.48 |
| 1.2 | 160.25 | 80.13 | 53.42 | 40.06 | 32.05 | 26.71 | 22.89 | 20.03 | 17.81 | 16.03 |
| 1.3 | 147.92 | 73.96 | 49.31 | 36.98 | 29.58 | 24.65 | 21.13 | 18.49 | 16.44 | 14.79 |
| 1.4 | 137.36 | 68.68 | 45.79 | 34.34 | 27.47 | 22.89 | 19.62 | 17.17 | 15.26 | 13.74 |
| 1.5 | 128.20 | 64.10 | 42.73 | 32.05 | 25.64 | 21.37 | 18.31 | 16.03 | 14.24 | 12.82 |
| 1.6 | 120.19 | 60.09 | 40.06 | 30.05 | 24.04 | 20.03 | 17.17 | 15.02 | 13.35 | 12.02 |
| 1.7 | 113.12 | 56.56 | 37.71 | 28.28 | 22.62 | 18.85 | 16.16 | 14.14 | 12.57 | 11.31 |
| 1.8 | 106.83 | 53.42 | 35.61 | 26.71 | 21.37 | 17.81 | 15.26 | 13.35 | 11.87 | 10.68 |
| 1.9 | 101.21 | 50.61 | 33.74 | 25.30 | 20.24 | 16.87 | 14.46 | 12.65 | 11.25 | 10.12 |
| 2.0 | 96.15 | 48.08 | 32.05 | 24.04 | 19.23 | 16.03 | 13.74 | 12.02 | 10.68 | 9.62 |
| 3.0 | 64.10 | 32.05 | 21.37 | 16.03 | 12.82 | 10.68 | 9.16 | 8.01 | 7.12 | 6.41 |
Other variables to consider when evaluating powder coatings:
Hide: In bright colors such as Reds and Yellows, quality pigments can be one of the most expensive ingredients in the powder coating formulation; the right pigmentation load can mean the difference between full hide at 2.5 mils or full hide at 4+ mils. Using special panels, the technicians at PTI can tell you exactly how many mils of your current coating need to be applied to achieve full substrate hide.
Application: How does the powder coating adhere to the part? Does the coating build effectively in the Faraday areas? By using only the highest quality raw materials, and premium formulations, PTI chemists are able to engineer coatings with high transfer efficiency. Less fillers and more resins mean better coatings.
Product consistency: Once you have your paint crew, gun recipes and line settings dialed-in, does the coating perform the same day to day, and shipment to shipment?
Using Laser Particle Size analysis, we are able to provide exact data regarding the mean, median and mode of the particle size of your product.
PTI is known throughout the industry as having an unparalleled ability to maintain precise color control. Read more about our Color Standard Program here.
Technical Support:
Product availability:
Below is a calculator to help you determine the true applied cost of the coatings. Don’t forget that two products of the same color can hide at vastly different rates based on the pigmentation load. Furthermore, a coating that has an extremely low specific gravity might sound good on paper, but if its has poor hide, it will require a much thicker application. Conversely, a very high specific gravity coating doesn’t necessarily correlate to heavy pigmentation and superior hide — it could just be full of cheap fillers.
Powder coating application and troubleshooting
How to coat galvanized media
Application Summary:
The following information is intended as a guideline for the coating of hot dipped galvanized substrates where the end use requires a high performance exterior coating systems. Intended end use markets would include light poles, commercial industrial equipment, and agricultural implements.
ATP – Advanced Technology Primer: Anti-Chip Corrosion Resistant
Pentabond TGIC Polyester Topcoat – AAMA 2604
Substrate Preparation: Hot Dipped Galvanizing
The objective is to remove oxidation, soils, and provide an adequate profile for film adhesion.
Step 1: Prepare substrate per ASTM D7803 -12 (2012) Standard practice for preparation of Zinc (Hot Dip Galvanized) coated iron and steel product and hardware surfaces for painting.
Step 2: Grinding of Surface Defects. Any remaining surface defects should be ground and the immediate area air blasted.
Step 3: Final inspection to be completed and approved by a trained operator. A suitable surface profile gauge should be used periodically to insure an appropriate surface profile is achieved.
Step 4: We suggest preheating the substrate prior to coating to prevent gassing. Allow the substrate temperature to cool to between ambient and 200° F before applying the primer.
Note: Any additional cleaning and conversion coating after surface profiling is acceptable and encouraged. For additional guidelines, please contact either your chemical pre-treatment and/or pre-treatment supplier.
Application Parameters
Application of Primer: Please refer to the tab "How to determine powder coating curing". This document details the proper application and cure determination in order to insure maximum inter-coat adhesion between the primer and topcoat.
Application of Topcoat: The topcoat should be applied immediately after the priming process is completed. For optimal transfer of powder topcoat to primer and substrate, part temperature should be above ambient and below 200F. Once primer is applied, any delay in topcoat application may result in surface contamination of primer film that could result in defects of topcoat. The Cure Curve chart below should be used in order to achieve the desired properties of the topcoat applied. All PTI Pentabond topcoats follow the parameters outlined below. Final cure testing of the topcoat needs to be performed using the PCI #8 test method. This is a destructive test method so an inconspicuous spot shall be selected.
HANDLING: Do not use near sources of ignition, spark or open flame. Store in dry area below 80 °F away from all sources of heat.
PRECAUTIONS: Provide adequate dust control and use approved dust mask. Avoid skin contact. Wash with soap and water if contact occurs. Use only in well ventilated areas. Wear proper eye protection.
Finished Coating Maintenance
Regular cleaning and maintenance will extend both the decorative and functional service life of a coatings system. It is suggested that the coated item be cleaned and maintained annually, at a minimum. If the item is exposed to heavy duty use and/or contamination, this frequency should increase in order to maximize the coating life cycle. Specifically, if the item is located in a geographic area where road salt is used, annual spring cleaning is highly recommended.
Cleaning
Surface cleaning should be accomplished using non-abrasive cloths or brushes in conjunction with warm water and a mild detergent. For removal of heavy deposits of salt, a citric acid cleaner may be used. A citric acid concentration of 10% should not be exceeded. For removing grease, oil, or other hydrocarbon deposits, the use of mineral spirits is suggested. Stronger solvents should not be used.
After any cleaning, the item should be thoroughly rinsed with warm water.
Repairing – Field
Surface preparation will depend on the degree of damage to the coated item.
For cases where the damage has not penetrated to the substrate, a medium-fine grit sand paper should be used to scuff the surface prior to priming. A high quality air dry surface primer should be applied, followed by an air dry topcoat matched to the color of the original coating.
For cases where the damage has penetrated to the substrate, a wire brush should be used to remove any remaining loose film and abrasion of the substrate should be completed. Use a medium-fine grit sand paper for final prep. Priming and top-coating should be prepared.
Note: Performance of the field repair in most cases will not be equal to the original coating system. Specifically, unequal fading of the repaired section compared to the original coating system should be expected, along with decreased corrosion resistance. The higher the quality repair paint, the better.
How to coat Steel media
Application Summary
The following information is intended as a guideline for the coating of steel substrates where the end use requires a high performance exterior coating systems. Intended end use markets would include light poles, commercial industrial equipment, and agricultural implements.
ATP – Advanced Technology Primer: Anti-Chip Corrosion Resistant
Pentabond TGIC Polyester Topcoat – AAMA 2604
Substrate: Mild Steel and Cast Iron
The objective is to remove any mill scale and soils. If mill scale is not removed, the powder coating will bond to this strata and subsequently field failures will result with dis-bondment between the scale and underlying substrate. Any soils that are not removed will result in poor adhesion andor potential boiling of material which will result in a discontinuous coating film.
Step 1: Blast using a media that will result in a target 1.5 – 2.5 mil surface profile. SSPC SP7 Brush Off Blast Cleaning Minimum.
Step 2: Grinding of Surface Defects. Any remaining surface defects should be ground and the immediate area air blasted.
Step 3: Final inspection to be completed and approved by a trained operator. A suitable surface profile gauge should be used periodically to insure an appropriate surface profile is achieved.
Note: Any additional cleaning and conversion coating after surface profiling is acceptable and encouraged. For additional guidelines, please contact either your chemical pre-treatment andor pre-treatment supplier.
Application Parameters
Application of Primer: Please refer to the tab "How to determine powder coating curing". This document details the proper application and cure determination in order to insure maximum inter-coat adhesion between the primer and topcoat.
Application of Topcoat: The topcoat should be applied immediately after the priming process is completed. For optimal transfer of powder topcoat to primer and substrate, part temperature should be above ambient and below 200F. Once primer is applied, any delay in topcoat application may result in surface contamination of primer film that could result in defects of topcoat. The Cure Curve chart below should be used in order to achieve the desired properties of the topcoat applied. All PTI Pentabond topcoats follow the parameters outlined below. Final cure testing of the topcoat needs to be performed using the PCI #8 test method. This is a destructive test method so an inconspicuous spot shall be selected.
HANDLING: Do not use near sources of ignition, spark or open flame. Store in dry area below 80 °F away from all sources of heat.
PRECAUTIONS: Provide adequate dust control and use approved dust mask. Avoid skin contact. Wash with soap and water if contact occurs. Use only in well ventilated areas. Wear proper eye protection.
Cleaning
Surface cleaning should be accomplished using non-abrasive cloths or brushes in conjunction with warm water and a mild detergent. For removal of heavy deposits of salt, a citric acid cleaner may be used. A citric acid concentration of 10% should not be exceeded. For removing grease, oil, or other hydrocarbon deposits, the use of mineral spirits is suggested. Stronger solvents should not be used.
After any cleaning, the item should be thoroughly rinsed with warm water.
Repairing – Field
Surface preparation will depend on the degree of damage to the coated item.
For cases where the damage has not penetrated to the substrate, a medium-fine grit sand paper should be used to scuff the surface prior to priming. A high quality air dry surface primer should be applied, followed by an air dry topcoat matched to the color of the original coating.
For cases where the damage has penetrated to the substrate, a wire brush should be used to remove any remaining loose film and abrasion of the substrate should be completed.Use a medium-fine grit sand paper for final prep. Priming and top-coating should be prepared.
Note: Performance of the field repair in most cases will not be equal to the original coating system. Specifically, unequal fading of the repaired section compared to the original coating system should be expected, along with decreased corrosion resistance. The higher the quality repair paint, the better.
How to Determine Powder Coating Curing
Scope
This method describes a field qualitative test to determine the proper degree of cure for a powder coating primer in order to maximize the inter-coat adhesion properties between itself and the final topcoat. As a powder primer approaches and obtains full cure, the chances for optimal inter-coat adhesion properties will diminish. In severe over-cure cases this may lead to de-lamination of the top-coat to the primer.
Solvent testing of the primer may be completed during the coating process to insure the right amount of cure is obtained to promote proper inter-coat adhesion. Chemical resistance and cure schedules will vary with different primer selections. The information contained in this document may be used as a reference for PT-ES49-ES09 ATP AG M Gray.
Pictures are included at the end of this document as a visual reference. However, the best comparative method is to have laboratory test panels as a reference at each manufacturing facility.
Materials
100% MEK solvent or a blend of 10% MEK 90% Xylene
Q-tip cotton swabs
Procedure
Fully immerse a cotton swab in the selected solvent. Immediately apply swab to the surface of the gelled primer and proceed with 50 double-rubs using strokes approximately 3.5" in length. One double-rub would be considered a forward motion followed by a return to the starting point. The test will be completed in one continuous cycle until 50 double-rubs are achieved. Results to be evaluated immediately.
Evaluation
As a powder coating is subjected to heat, its cure proceeds along various stages. Descriptions of stages 2 – 5 are referenced below with the accompanying chemical resistance results in Table 1.
Pre-Melt
The initial stage will have an appearance similar to freshly applied powder. Powder will be easily scratched off. Application of a low-moderate PSI air hose will not blow powder off in a cloud, but may be able to blow chip sections off. Topcoat may be applied, but not recommended.Continuous film
Smoothness will be of a tight orange peel appearance. Typically the film will have a gloss higher than the specification for cured powder. Product will re-flow if exposed to heat. Any type of impact will result in shattering and severe loss of film adhesion.Gel
Product has formed a continuous film and enough reaction has taken place in order to advance to a pre-cure state. It will not re-flow if exposed to heat. Impact will typically cause severe cracking with moderate loss of adhesion. Cure advancement is considered 50-70%. This is the optimal "Green Cure" stage.Pre-Cure
The coating will have advanced to a stage where impact resistance is starting to develop. Cracking will be apparent with slight loss of adhesion possible. The gloss level will be slightly higher than a fully cured film. Chemical resistance remains poor and easy to differentiate between a fully cured film.Full Cure
Optimal film properties will be achieved. In a primer application, cure has advanced to a stage where chemical interaction is minimized thereby decreasing the opportunity to reach full inter-coat adhesion properties.Over Cure
The film will start to lose some flexibility, potentially shifting yellow in color and gloss may decrease below the expected full cure reported levels. Inter-coat adhesion is compromised and catastrophic failures likely.
| Cure Stage | 100% MEK Chemical Resistance | Cure Cycle | Top Coat Adhesion |
|---|---|---|---|
| Panel 1 - Continuous Film | Penetration to substrate. Severe blistering. Full color transfer. | 20 Minutes @ 250°F | Recommended |
| Panel 2 - Gel | Severe film softening with moderate blistering. Full color transfer | 20 Minutes @ 300°F | Optimal |
| Panel 3 - Pre-Cure | No blistering. Complete loss of gloss. Full color transfer. | 20 Minutes @ 325°F | Recommended |
| Panel 4 - Full Cure* | No blistering. Slight film penetration, gloss loss. Slight color transfer � green pigment primary. | 20 Minutes @ 350°F | Not Recommended |
| Cure Stage | 10% MEK / 90% Xylene Chemical Resistance | Cure Cycle | Top Coat Adhesion |
|---|---|---|---|
| Panel 1 - Continuous Film | Slight blistering and film wrinkling. Full color transfer. | 20 Minutes @ 250°F | Recommended |
| Panel 2 - Gel | Severe film softening with complete loss of gloss. Full color transfer. | 20 Minutes @ 300°F | Optimal |
| Panel 3 - Pre-Cure | Slight film softening with moderate amount of solvent penetration into film. Color transfer of green pigment only. | 20 Minutes @ 325°F | Recommended |
| Panel 4 - Full Cure* | Slight film softening with a small amount of solvent penetration into film. Color transfer of green pigment only. | 20 Minutes @ 350°F | Not Recommended |
* For the purposes of this specific primer, full cure for top-coating is being defined at this stage. Impact, Chip Resistance, and Solvent Resistance will continue to develop through a second bake stage.


Troubleshooting Guide
| Problem | Reason | Solution | |
|---|---|---|---|
| Heavy Orange Peel | Too thick | Adjust film build. | |
| Too long on ramp up to peak temperature | Adjust air flow in oven | ||
| KV too high | Reduce voltage | ||
| Inappropriate powder | Contact PTI | ||
| Low Gloss | Contamination with an incompatible powder | Clean equipment before changing powders | |
| Gassing - micro-pinholing | Check for damp substrate (especially if porous) or moist powder bed from compressed air | ||
| Increased film build | |||
| Over-curing | Check oven - Where parts in oven with line stopped for an excessive amount of time? | ||
| High Gloss | Under-cure | Increase oven temperature or time in oven | |
| Inappropriate powder | Contact PTI | ||
| Contamination | Malfunction in application process | Check reclaim system, hooks and conveyor line, compressed air, and pre-treatment / dry-off system for source of problem | |
| Problem with virgin powder | Contact PTI | ||
| Off Color | Fouling from improper exhaust in oven | Clean vents and check exhaust fans | |
| Over-bake | Adjust line speed, oven temperature | ||
| Where parts in oven with line stopped for an excessive amount of time? | |||
| Blistering or Pull-Away from Edges | Moisture | Check parts after the dry-off oven for dampness and improper drainage | |
| Poor Film Build on Recessed Areas | Faraday cage effects | Check for poor ground | |
| Reduce gun KV setting | |||
| Poor Impact or Flexibility | Under cure | Adjust oven temperature/dwell time | |
| Poorly prepared substrate | Check substrate for incomplete mechanical cleaning (abrasion) or for problems with pretreatment system | ||
| Coating too thick | Adjust film build | ||
| Variation in substrate composition or gauge | Contact substrate supplier | ||
| Inappropriate powder | Contact PTI | ||
| Poor Adhesion | Undercure | Adjust oven temperature/dwell time | |
| Poorly prepared substrate | Check substrate for incomplete mechanical cleaning (abrasion) or for problems with pretreatment system | ||
| Variation in substrate composition or gauge | Contact substrate supplier | ||
| Inappropriate powder | Contact PTI | ||
| Poor Corrosion Resistance | Coating too thin | Adjust film build | |
| Poorly prepared substrate | Check substrate for incomplete mechanical cleaning (abrasion) or for problems with pretreatment system | ||
| Variation in substrate composition or gauge | Contact substrate supplier | ||
| Inappropriate powder | Contact PTI | ||
| Poor Chemical Resistance | Undercure | Adjust oven temperature/dwell time | |
| Inappropriate powder | Contact PTI | ||
| Poor Abrasion Resistance or Hardness | Under-cure | Adjust oven temperature/dwell time | |
| Inappropriate powder | Contact PTI | ||